IUP utilizes Microsoft Authenticator multi-factor authentication for users accessing online services.
 Multi-factor authentication (MFA) is a technology that requires the user to provide two or more verification factors to gain access to an application. Instead of asking only for a username and password, MFA requires one or more additional verification factors, which decreases the likelihood of an account compromise.
Why do I need this?
Passwords are easy to compromise. They can be stolen, guessed, or hacked—you might not even know someone is accessing your account.
Two-factor authentication adds a second layer of security, keeping your account secure even if your password is compromised. With Microsoft Authenticator, you'll be alerted right away (on your phone) if someone is trying to log in as you.
This second factor of authentication is separate and independent from your username and password.
How it Works
When accessing an IUP service, you will need to authenticate with Authenticator after you enter your credentials. When the prompt appears, you will automatically receive a notification to your devices. Enter the numbers shown on the sign-in screen in the Authenticator app.
What will it look like when I log in?
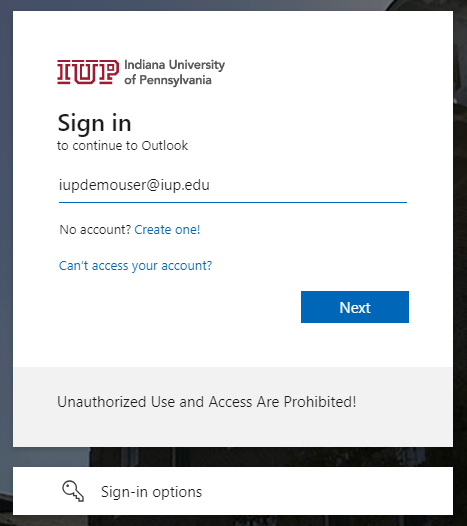
- Log in with any browser to any IUP computing services (MyIUP, D2L, email, etc.).
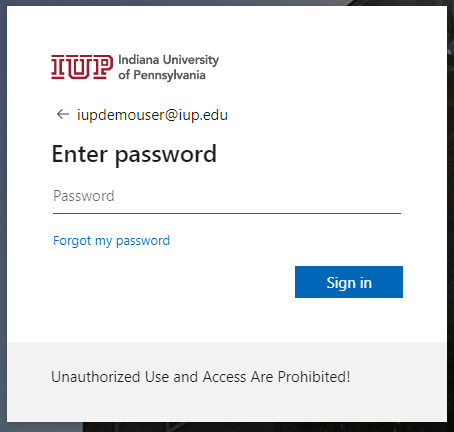
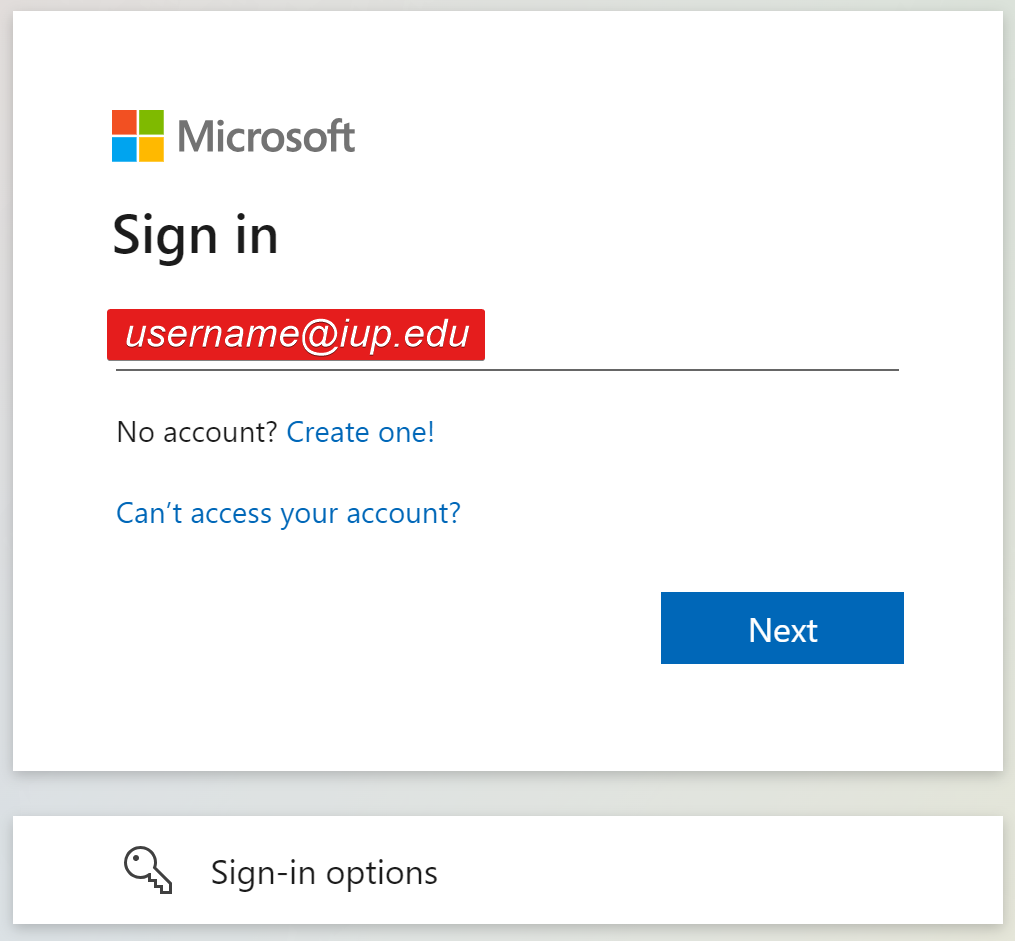
- Enter your username (username@iup.edu) and password.
- Next, the following screen will be displayed on your computer/device:
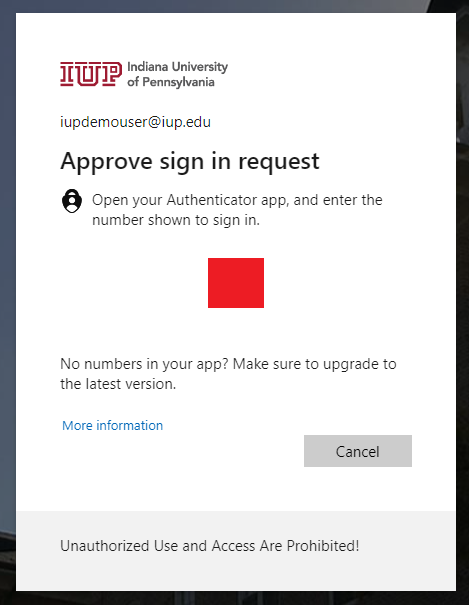
- Open the notification from the Authenticator app on your phone. It will look like this:
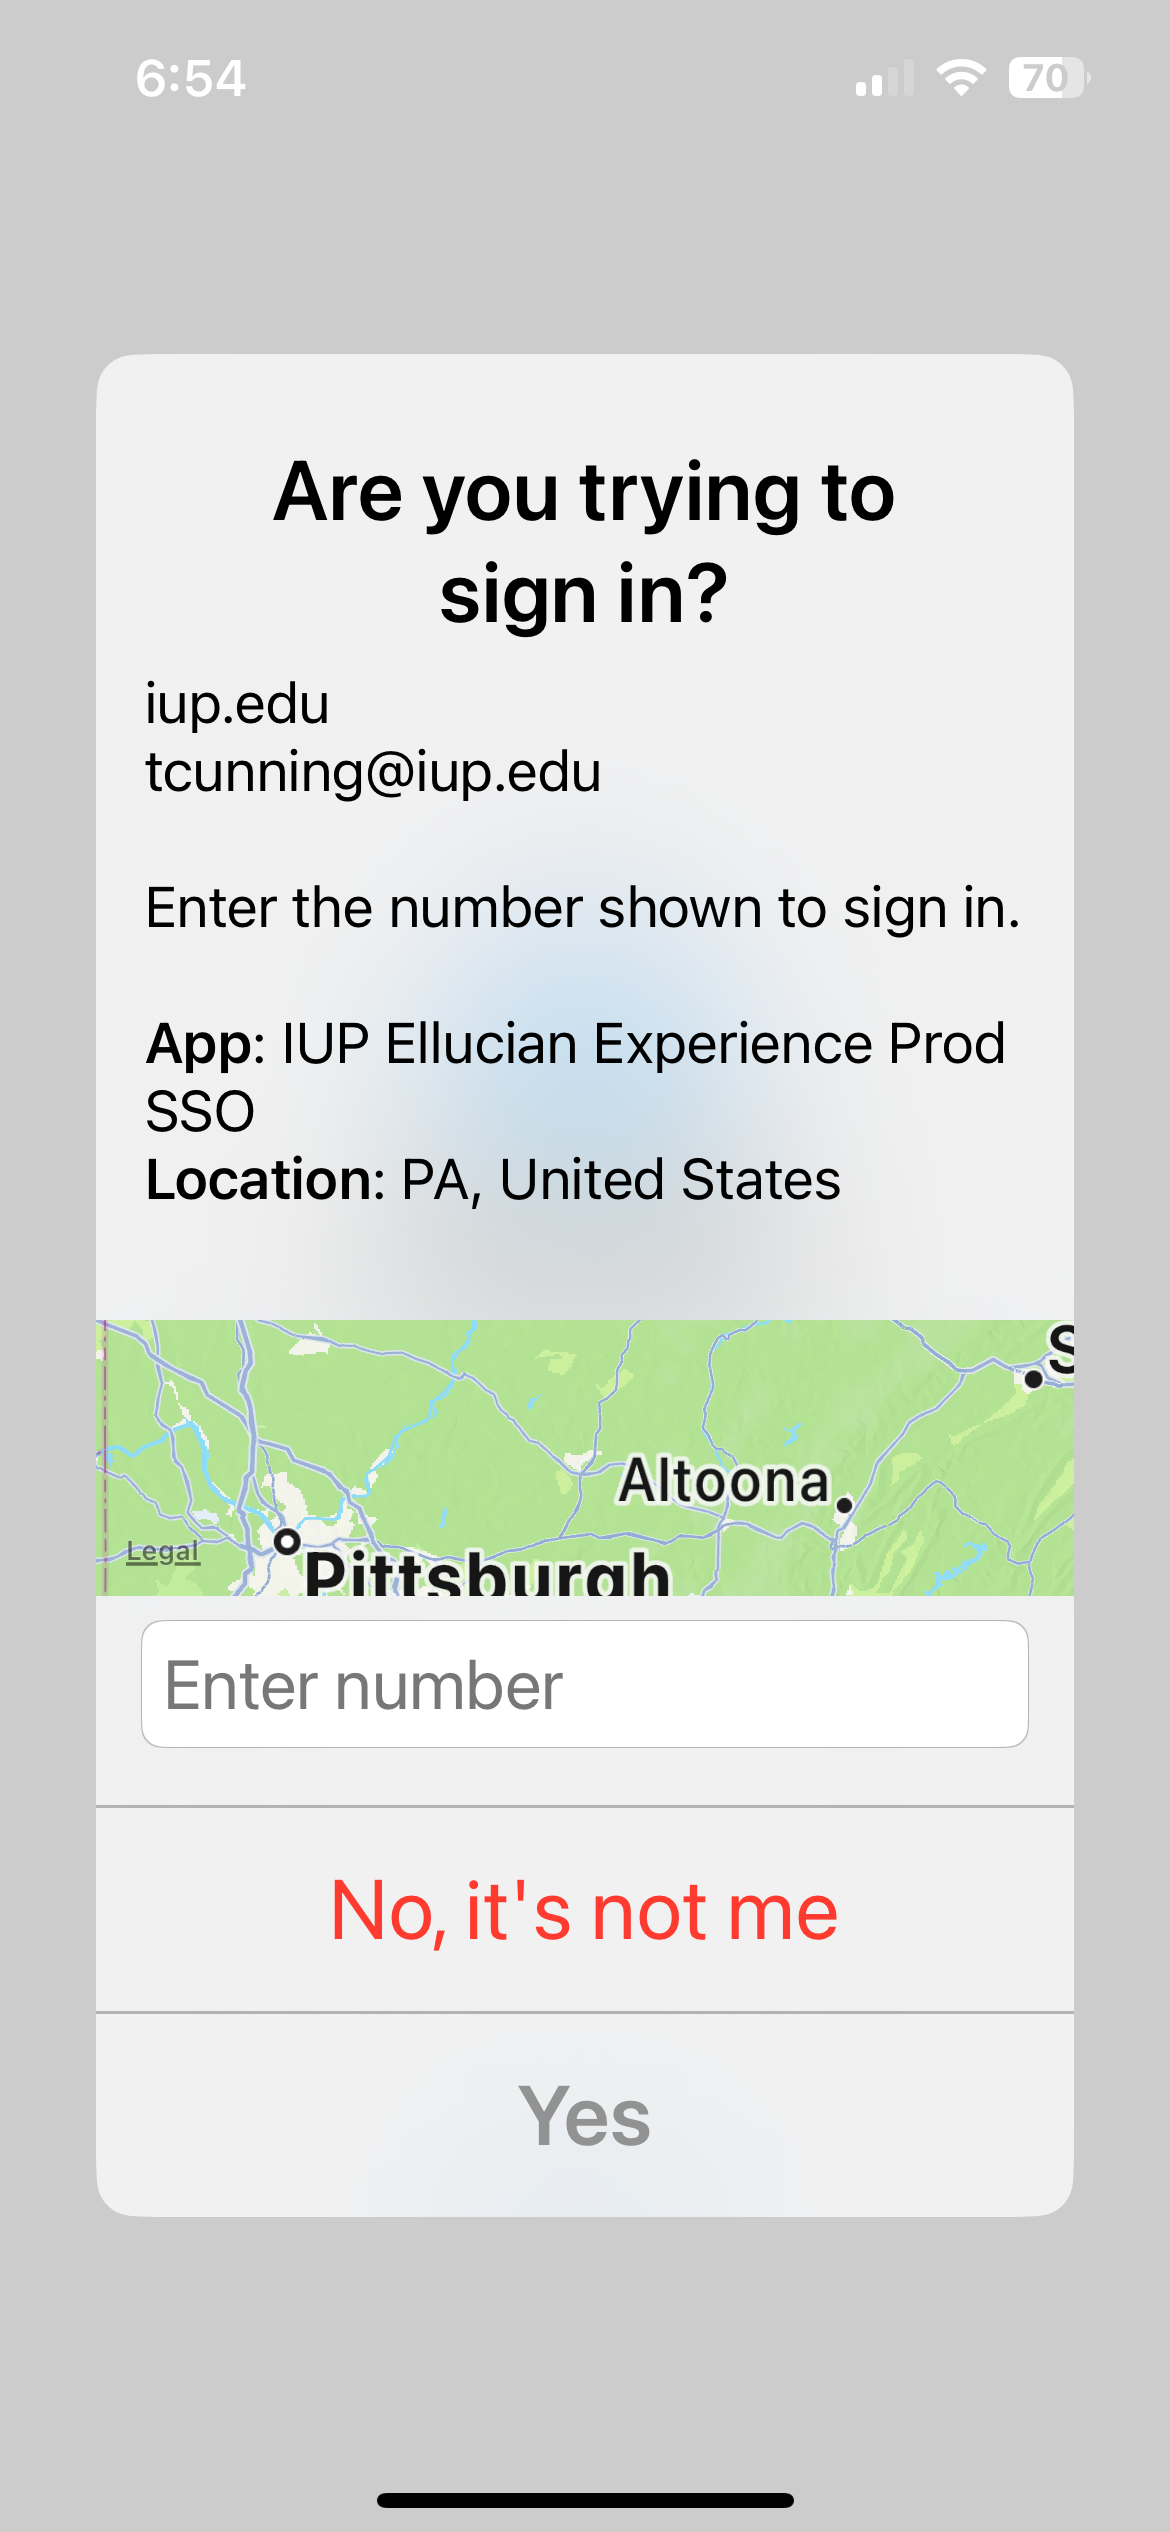
- Enter the number that is displayed on the login screen into the Authenticator app and select Yes.
When to Deny Pushes
If you are not trying to sign in when you receive an Authenticator notification, choose “No, it’s not me” to stop the login. You might also want to reset your password.
Because Authenticator requires you to enter the numbers on the sign-in screen, if you aren’t trying to log in it is virtually impossible for the attacker to get access to your account.
IT Services will never ask you to enter numbers into the Authenticator app. Anyone claiming to work for IT Services asking you to approve an authentication in the app is a scammer.
Download Microsoft Authenticator
Tap the badge to download Authenticator to your device.![]()
![]()
Instructions for Setting up or Updating Authenticator
First-Time Enrollment
Newly admitted students and employees must claim their IUP computing accounts. When your account is ready, you'll receive an email with instructions on how to log in to your account. If you did not receive the email, check your junk or spam folder. If you still cannot find it, contact IT Support for assistance.
Upon the first login, you will need to setup Authenticator as follows.
First-time enrollment in Authenticator occurs for newly admitted students and new employees and for users whose accounts have been reset and do not have a phone number registered.
- Download and install the Microsoft Authenticator app.
- On a device other than the one you want to add to Authenticator, go to https://my.iup.edu/ and sign in with your IUP email address and password.
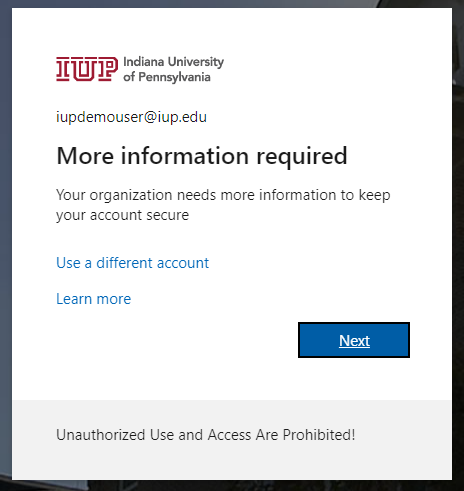
- Next, you will see the "More Information Required" screen. Click Next.
- On the Start by getting the app screen, click Next. Download the Authenticator app if you haven't already.

- Go to the device where you installed Authenticator. Open the app and accept any license terms.
- If you already have accounts set up in the Authenticator app: click the + button in the top right, then Work or school account.
- Click Scan a QR Code.
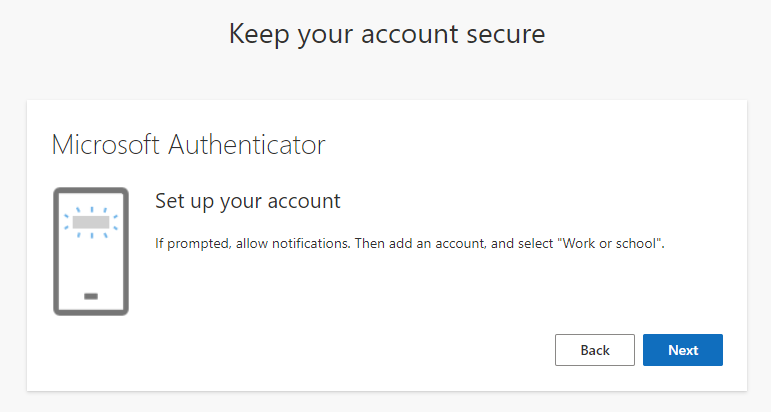
- Back on your other device: on the Set up your account screen, click Next.
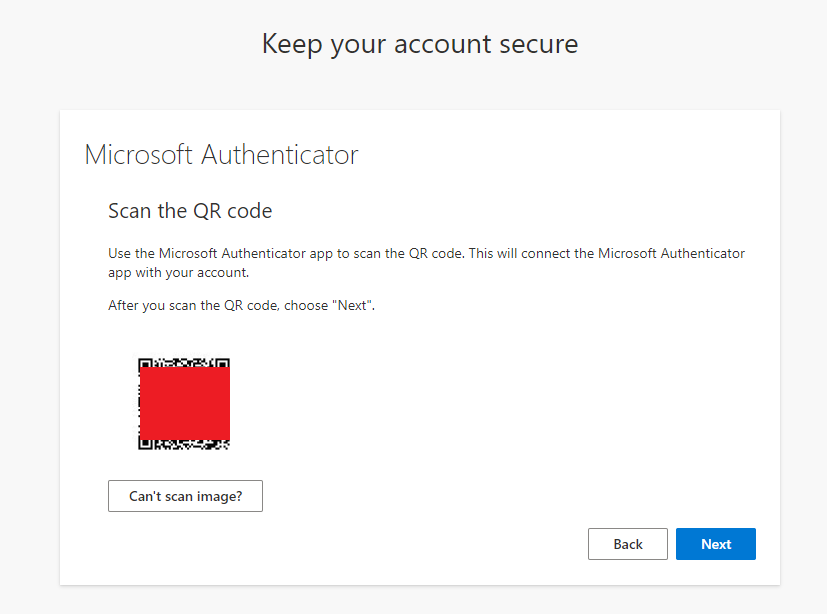
- When the QR code appears, scan it with the Authenticator app on your phone.
- On the Let's try it out screen:
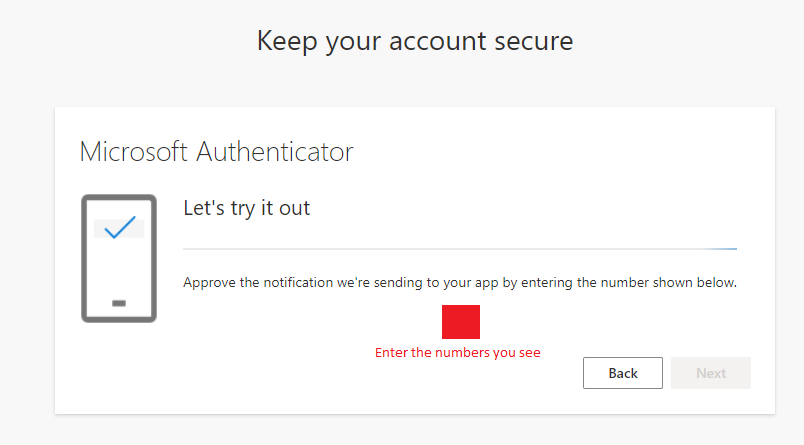
- Two numbers will appear on your screen.
- Enter those two numbers into the Authenticator app on your device and press Yes.
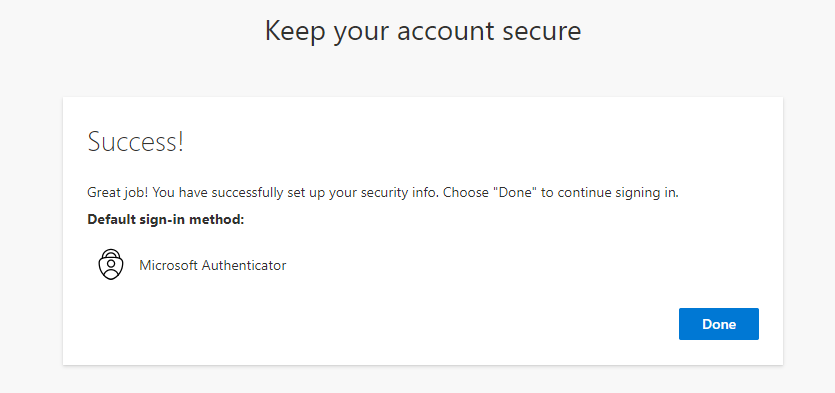
- When you see Success!, click Done.
- Now you're ready to complete your first Authenticator approval.
- Two numbers will appear on your screen.
- Enter those two numbers into the Authenticator app on your device and press Yes.
Congratulations! You've completed the Authenticator setup. Now you're ready to log in and keep your account secure.
New Phone/Authenticator Reset
If you recently got a new phone, or if you need to reset Authenticator because Authenticator is not working for your current phone and do not have a secondary device registered, please contact IT Support for assistance.
After IT Support has reset your authentication methods, follow the steps below to set up Authenticator.
-
On your phone: Make sure you have the Microsoft Authenticator app installed on your phone. Visit the App Store or Google Play to download the app.


- On your laptop or desktop, log in to MyIUP.
- Log in with your IUP credentials. (replace username with your IUP username)
- You will see a "More information required" prompt". Click Next.
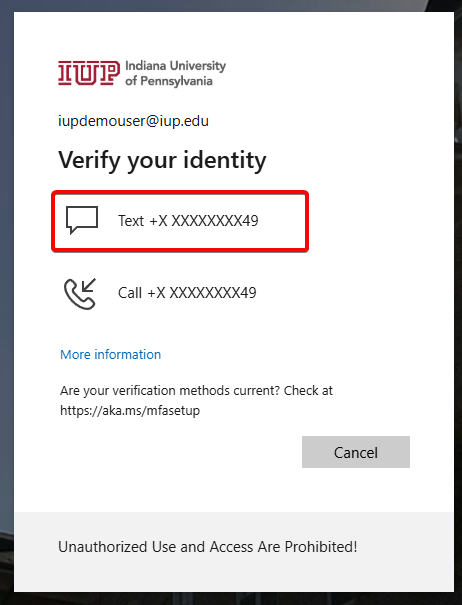
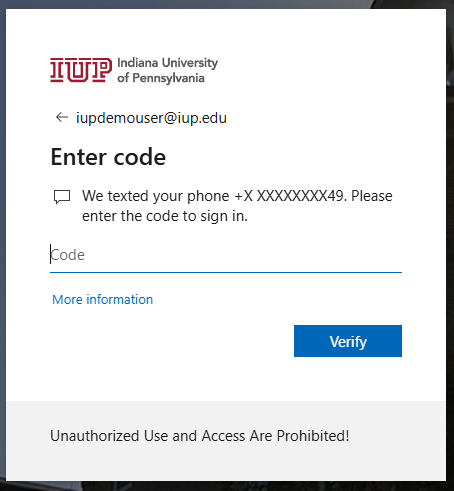
- Choose from the options listed to verify your identity. Choose Text. Enter the code you received and click Next.
- On the Start by getting the app screen make sure that you have the Authenticator app downloaded on your phone. Click Next once you have the app installed.
- On your phone: choose Add work or school account. (if you already have accounts in the Authenticator app, choose the + button in the top right)
- Tap Scan a QR Code.
- Back on your other device: on the Set up your account screen, click Next.
- When the QR code appears on your other device, scan it with the Authenticator app on your phone.
- On the Let's try it out screen:
- Two numbers will appear on your screen.
- Enter those two numbers into the Authenticator app on your device and press Yes.
- When you see Notification Approved, click Next.
Congratulations! You've completed the Authenticator setup on your new phone! Now you're ready to log in and keep your account secure.
Issues scanning the QR code
If you cannot scan the QR code using your phone to set up Authenticator, use these steps to set up your account.
- On your phone: Make sure you have the Microsoft Authenticator app installed on your phone. Visit the App Store or Google Play to download the app.
- On your phone, go to the Microsoft Security Info portal: https://aka.ms/mfasetup
- Log in with your IUP email address and password.
- Choose from the options listed to verify your identity. Choose Text. Enter the code you received and click Next.
- To add your new phone, Click the Add sign-in method button.
- In the Choose a method dropdown, click Authenticator App. Click Add.
- On the Start by getting the app screen make sure that you have the Authenticator app downloaded on your phone. Click Next once you have the app installed.
- On the next screen, tap the "Pair your account to the app by clicking this link" button.
- You will be taken to the Authenticator app. Use your device PIN to unlock the app.
- Go back to your browser.
- On the Let's try it out screen:
- Two numbers will appear on your screen.
- Enter those two numbers into the Authenticator app on your device and press Yes.
- When you see Notification Approved, click Next.
Adding a second device
You can add up to five iOS, iPadOS, or Android devices (that support the Microsoft Authenticator app) to your account. When you log in, all of your registered devices will receive the notification. Open the notification on whatever device is closest to you.
- Download and install the Microsoft Authenticator app.
- Visit the Apple App Store or Google Play store on your device and install the Microsoft Authenticator app.
- Visit the Apple App Store or Google Play store on your device and install the Microsoft Authenticator app.
- Open the Authenticator app and accept any license terms.
- If you already use the Authenticator app for other accounts: click the + button in the top right, then Work or school account, then Sign in.
- If you do not already use the Authenticator app for other accounts, click Add work or school account.
- Sign in with your IUP email address and password.
- On the next screen, you will see a normal Authenticator request with two numbers. Enter those two numbers into the existing Authenticator app on your other device.
- On the "Sign-in with your phone" screen, tap Continue, then Register.
Congratulations! You've completed the Authenticator setup on your second device. Now you're ready to log in and keep your account secure, no matter what device you're using.
Managing your devices
If you need to remove a device that you have added, go to the Microsoft Security Info page portal. Click Delete next to the device you want to remove.
Lost/Forgotten/Stolen Devices
If you forgot the device you use for Authenticator at home, you can use a second device such as a tablet if you set it up previously.
If you do not have a second device added, you will need to call the IT Support Center at 724-357-4000 to request a temporary access pass.
If your device is lost or stolen, contact IT Support so that we can remove the device and prevent it from being used to access your account.